Home Assistant - Adjusting solar settings
Introduction
SolarAssistant exposes inverter settings, such as output source priority, charge/discharge current and work mode
schedules, to Home Assistant so you can change them from a dashboard. The
official integration exposes these as native number,
select and switch entities and is the easiest way to adjust solar settings from Home
Assistant. The MQTT integration exposes the same settings through MQTT
discovery and is documented further down as an alternative.
Using the official integration (recommended)
With the official integration installed, the writable settings are already available as entities on the SolarAssistant device.
Changing a setting takes effect on your inverter immediately. Make sure you understand a setting before adjusting it.
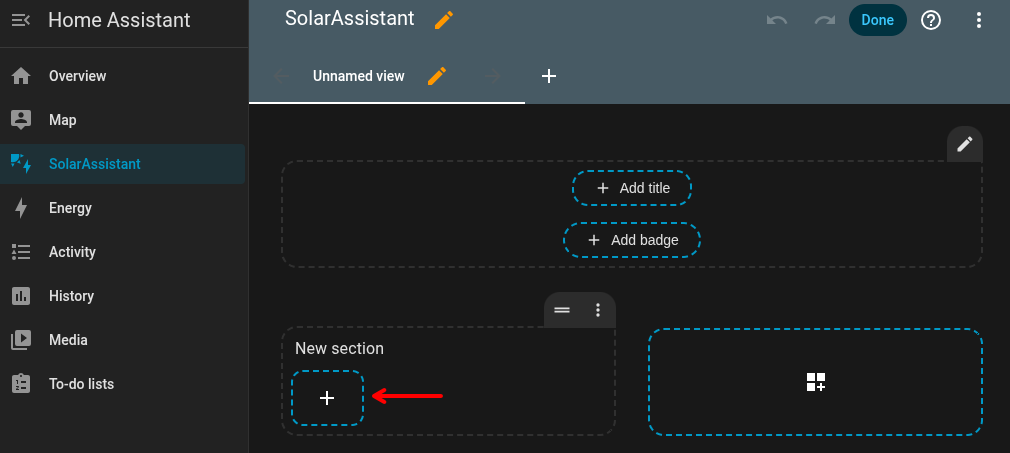
Step 1 - Add a control to your dashboard
Open a dashboard and switch to edit mode. In a section, click the + to add a card.
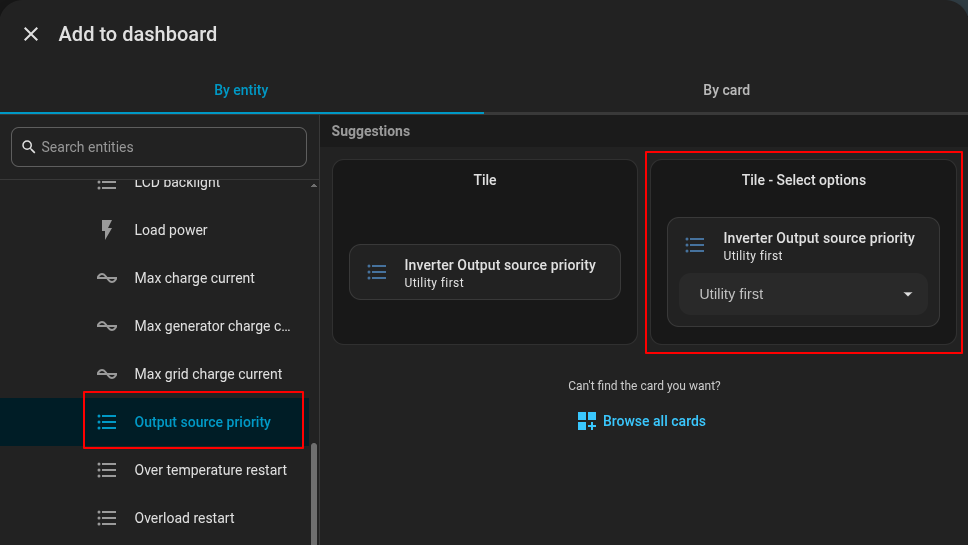
In the Add to dashboard dialog, search for and select the setting you want to control. In this example we select Output source priority and choose the suggested Tile - Select options card.
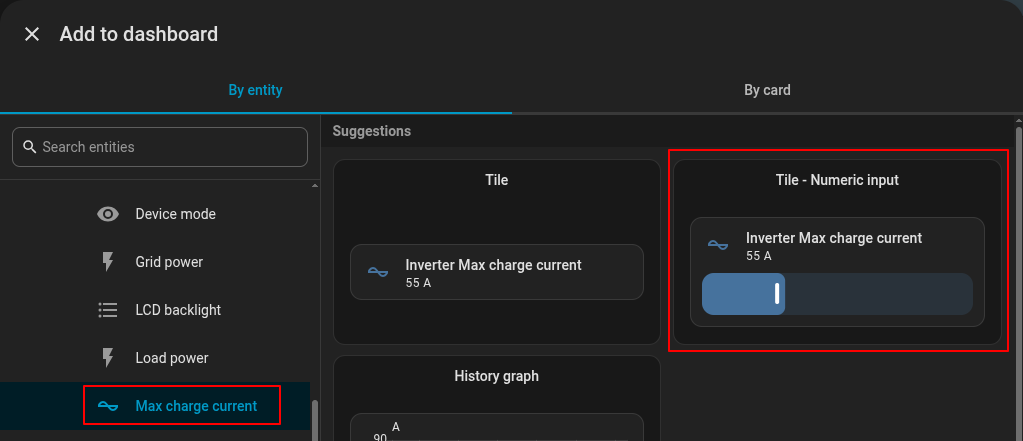
Repeat for any other settings. Here we add Max charge current and choose the suggested Tile - Numeric input card.
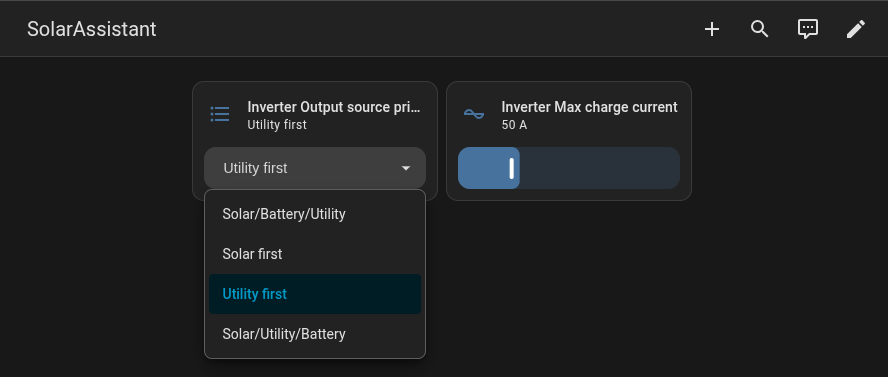
Step 2 - Change a setting
The controls now appear on your dashboard. Select an option for a select setting (such as Output
source priority), or drag the slider for a number setting (such as Max charge current). The change is
sent to SolarAssistant and applied to your inverter.
Using MQTT
If you are using the MQTT integration instead, settings are exposed via MQTT discovery and changes are gated by an Allow setting changes toggle in SolarAssistant. The steps below test that setting changes work before enabling them, so you can confirm the integration without affecting your solar system.
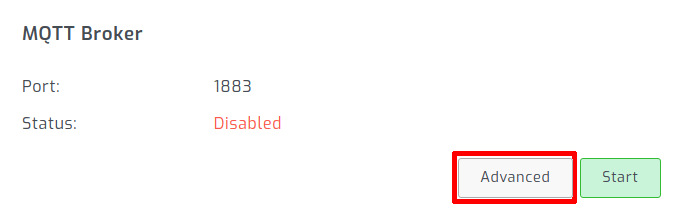
Step 1 - Open advanced MQTT settings
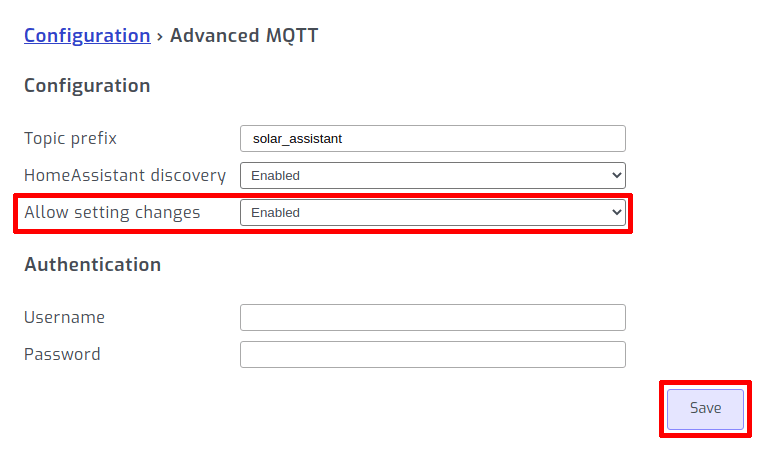
Under the "Configuration" tab, open advanced MQTT settings.
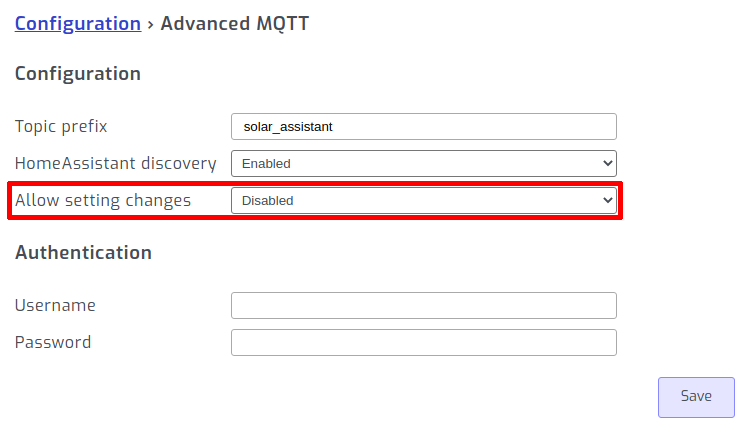
Step 2 - Disable setting changes (temporarily)
Disable setting changes over MQTT. This is so that we can test setting changes without affecting your solar system.
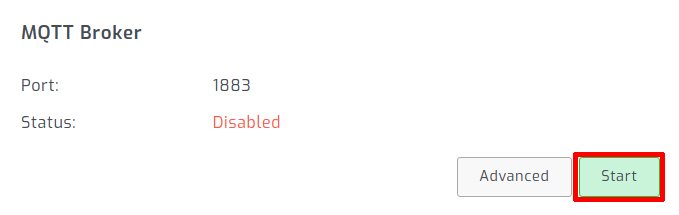
Step 3 - Start the MQTT broker
Under the "Configuration" tab, start the MQTT broker.
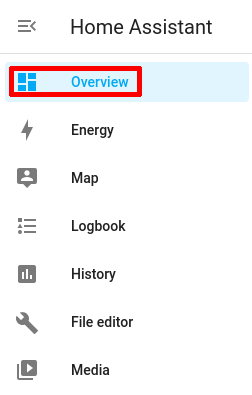
Step 4 - Add a settings card to Home Assistant dashboard
Open your Home Assistant dashboard (overview page).
In the bottom right corner, select add card.

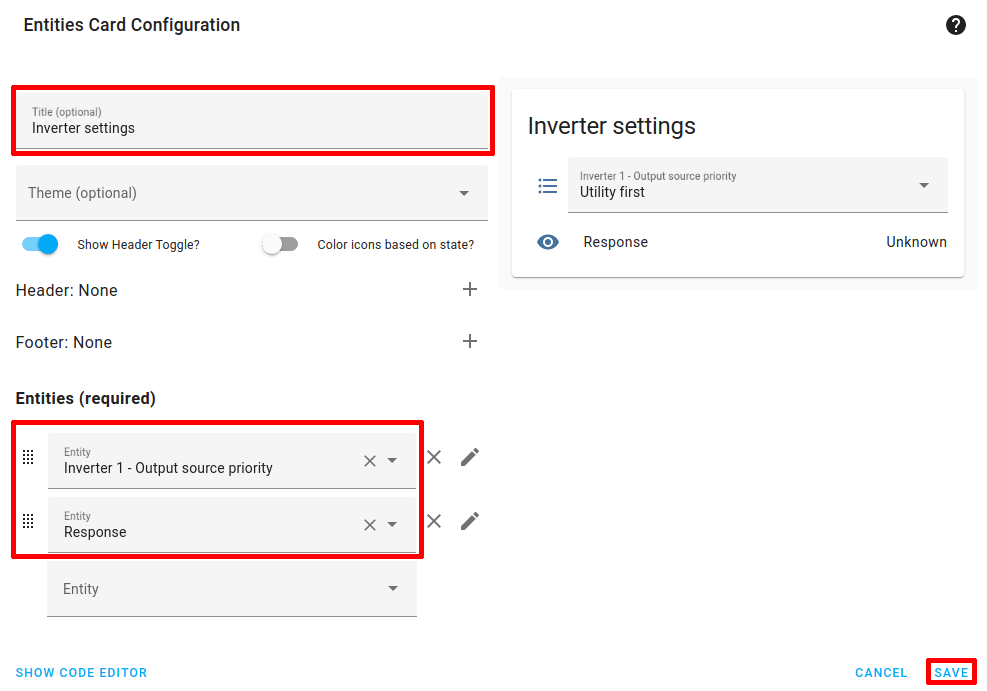
Select the entities card.

Add the solar setting you want to edit from the dashboard. In this example we are adding the inverter "Output source priority". Add the response sensor which will display the setting change result.
Go out of dashboard edit mode.

Step 5 - Test adjusting solar setting
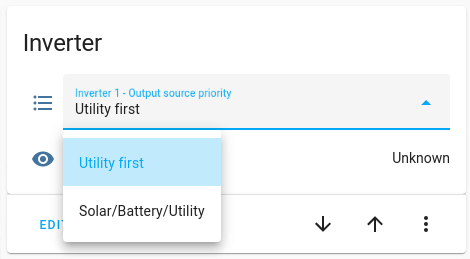
Set the solar setting on the new card.
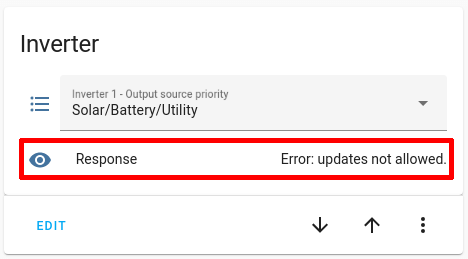
We expect to receive a Error: Updates not allowed response. This message is sent from
SolarAssistant when it receives an instruction to change a setting.
Otherwise, the we will show a Rejected "setting": updates not allowed response in the MQTT log. This message is sent in the SolarAssistant MQTT broker as shown below:

If you do not get a response from SolarAssistant, you are most likely running an MQTT broker in HomeAssistant that isn't passing your setting change message to the SolarAssistant MQTT broker. Please have a look at the topic out configuration of the broker configuration page.
Step 6 - Allow MQTT setting changes
Go back to the advanced MQTT settings we set in step 2. Now that the integration is working, we can allow adjusting settings.
If you are interested in understanding the messages that are sent back and forth to perform setting changes, see our guide on adjusting settings with MQTT