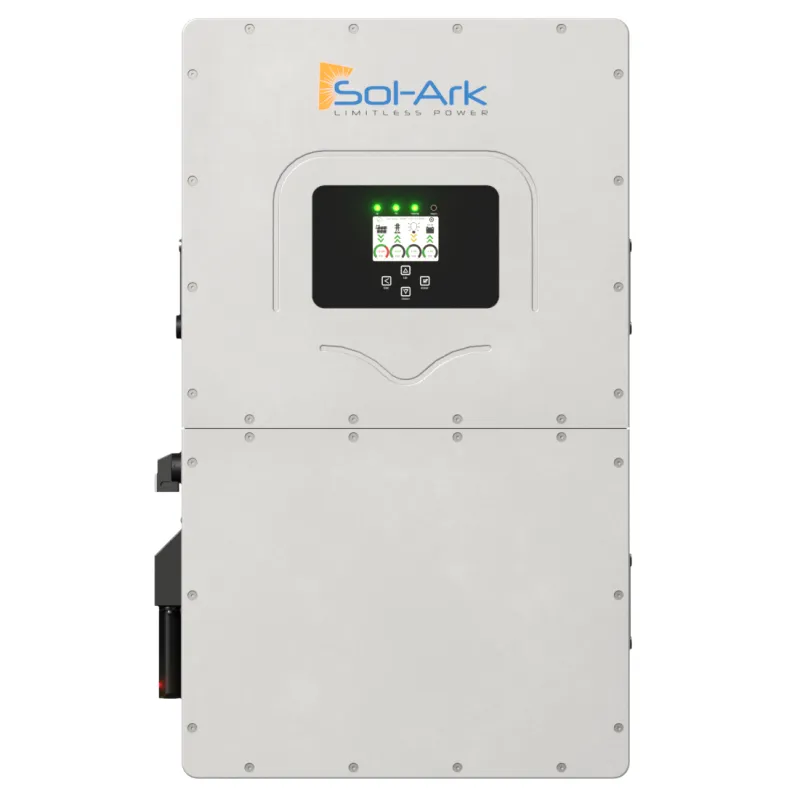
RS485 port
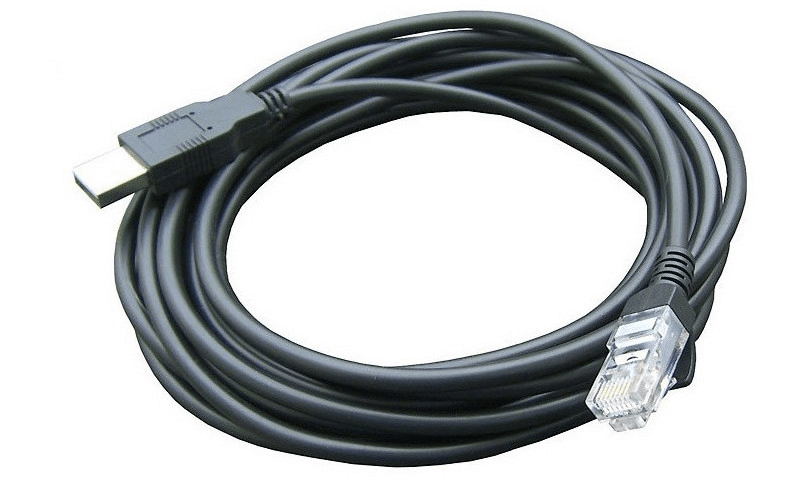
A purpose built USB RS485 cable can be plugged into the RS485 port located on the inside the inverter. This is an RS485 cable with a specific RJ45 pinout that can be purchased in our online store.
If you buy any random USB RS485 RJ45 cable on Amazon, Ebay, Takealot, etc. which doesn't specifically state that it supports the Deye inverter, it will most likely not work. You can read more about the communication chips we recommend using here.
| Pin 1 | RS485B |
| Pin 2 | RS485A |
| Pin 3 | GND |
| Pin 4 | - |
| Pin 5 | - |
| Pin 6 | - |
| Pin 7 | - |
| Pin 8 | - |
The labelling of the RS485 monitoring port is sometimes not intuitive. Please see the list below for the correct port.
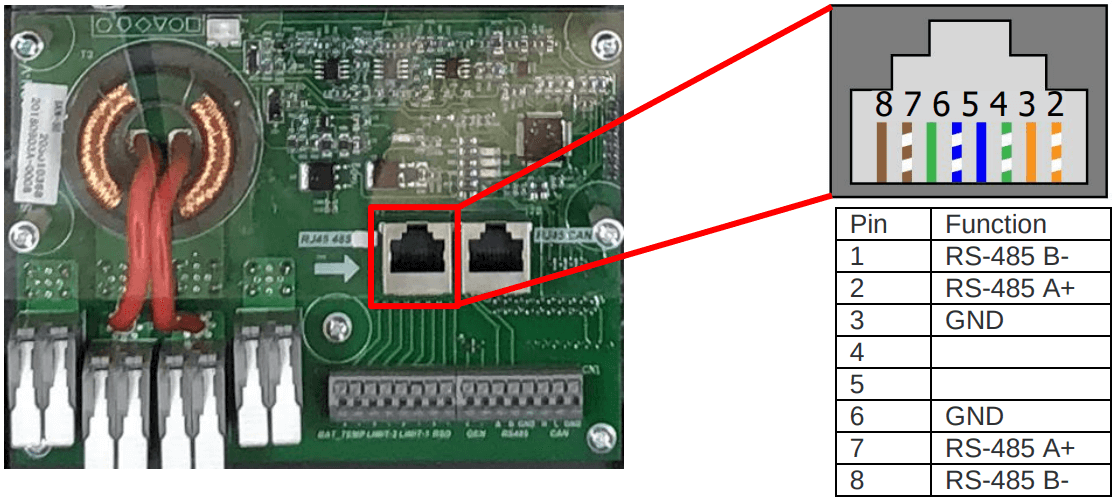
The BMS port is used for SolarAssistant monitoring and battery CAN communication at the same time. See the 2 in 1 BMS port
Steps in SolarAssistant
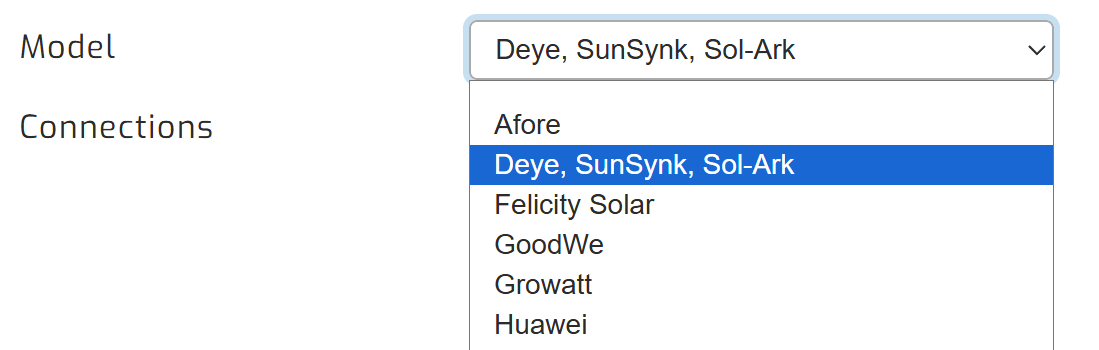
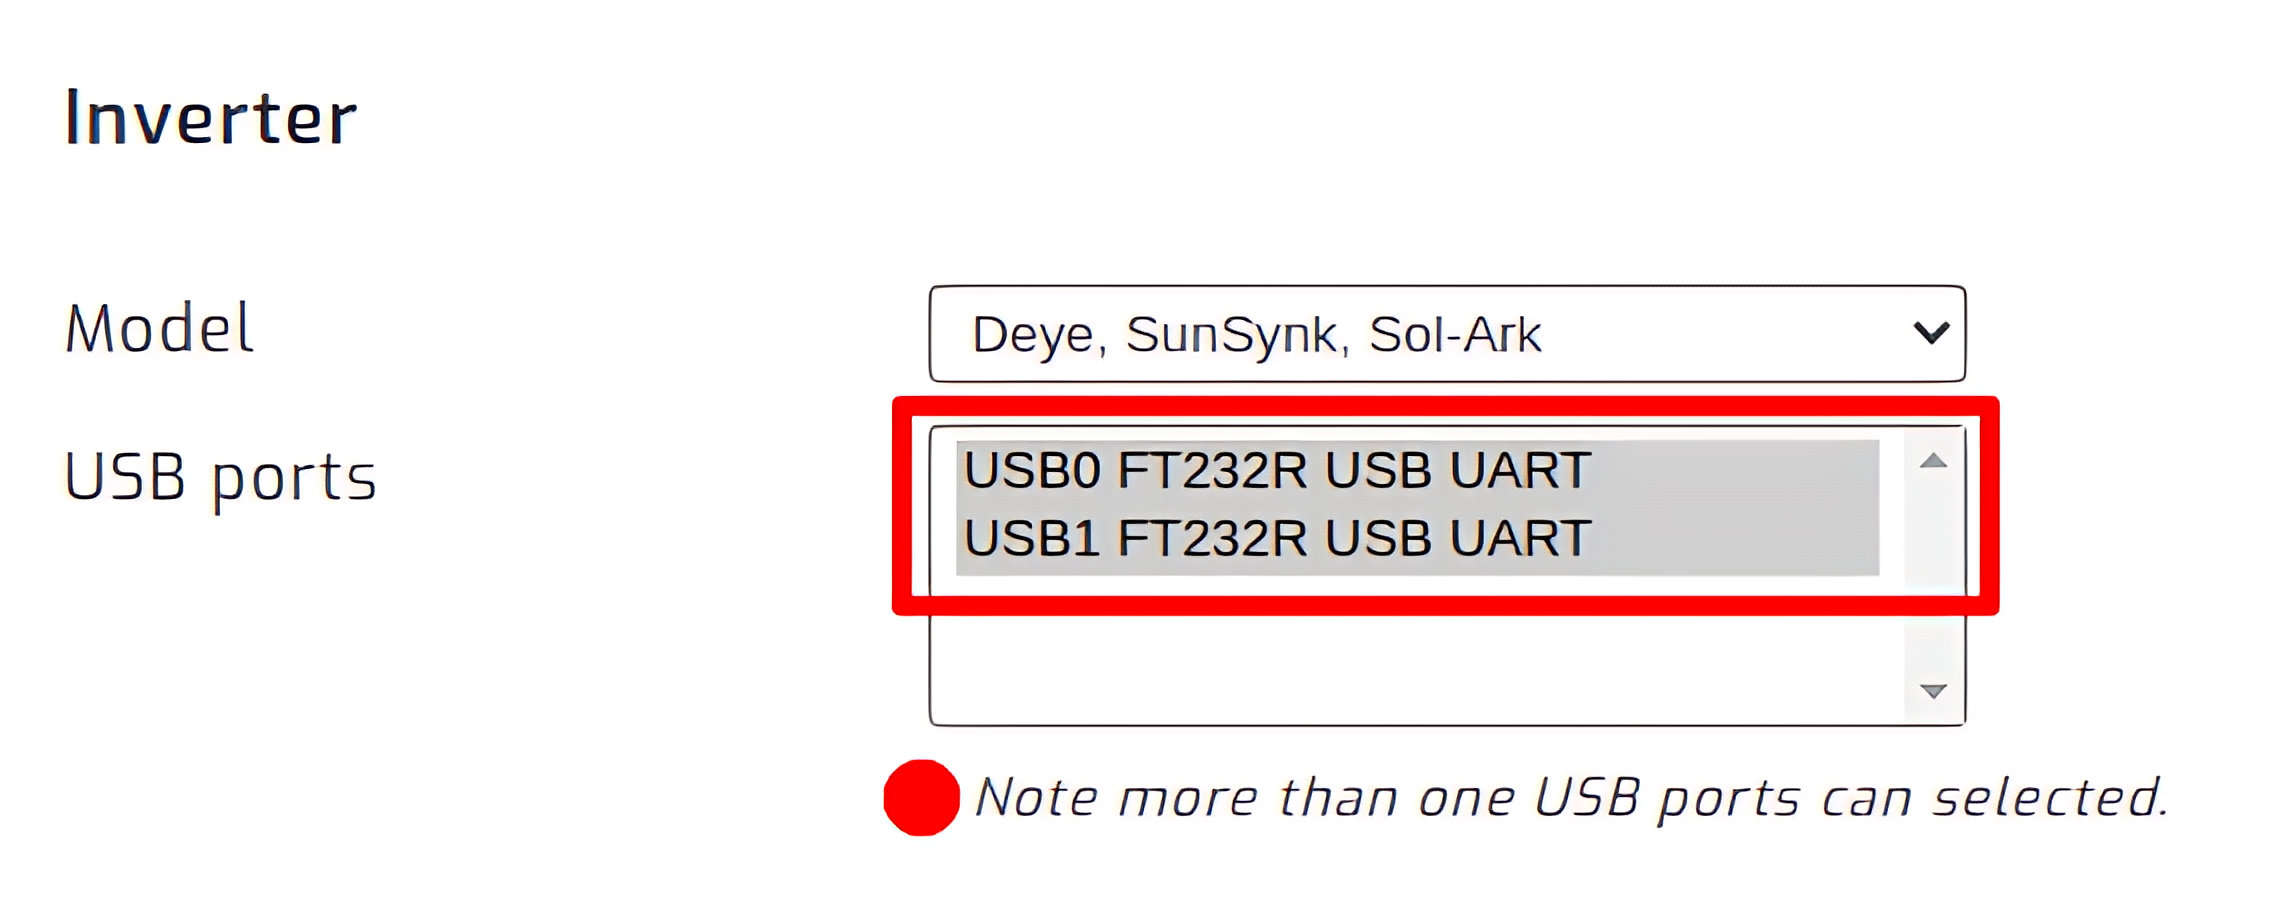
On the SolarAssistant configuration page, select "Deye, SunSynk, Sol-Ark" as your inverter model.
Select the USB port where your inverter is connected. If you have multiple inverters, you need to multi-select multiple USB ports.
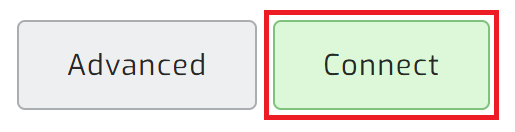
Click connect:
Parallel installations
With Sunsynk inverters you will need to connect each inverter with its own cable.
Troubleshooting
Depending on the model you have, the following could save you some time and troubleshooting.
- 1. Set BMS mode/battery setting to "00"
- 2. Set the modbus ID to "1" in the parallel options. By defaults it is "0", but set it to "1". This is because you will receive a lot of CRC Errors on address "0" and it will not work.
- 3. Make sure you plug the cable into the "BATTERY MONITORING" port. The "MODBUS" does not work. It does read data sometimes, depending on the firmware version loaded onto the inverter. So the "BATTERY MONITORING" port is the correct one to use in most situations. See the 2 in 1 BMS port